
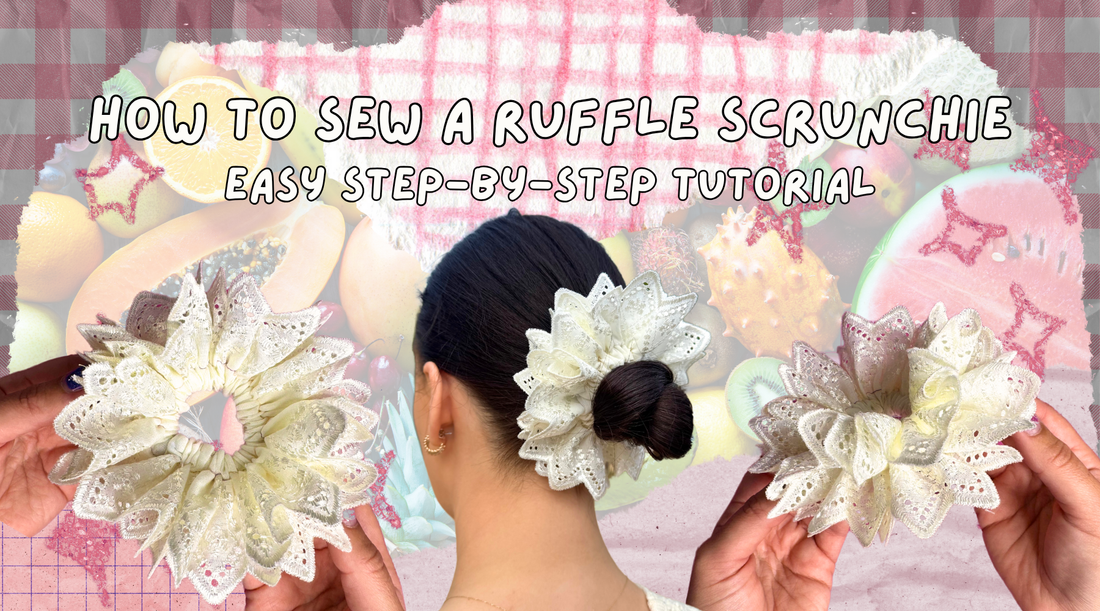
In this tutorial I’ll walk you through how to sew a ruffle scrunchie! This project is beginner friendly, with simple steps to help you create a high quality, handmade accessory for yourself or your small business!
Click the link below to explore my sewing patterns:


Materials Needed:
- Ruffle trim
- 1/4” or 1/2” elastic
- Sewing machine
- All purpose thread
- Fabric scissors
- Sewing clips or pins
- Safety pin or bodkin
Below I have added a link to my recommended sewing supplies on my Amazon storefront:
Studio Favourites - Amazon Storefront
Please note - This is an affiliate link which may earn me a small commission on any products purchased using this link. This is at no extra cost to you. I can’t thank you enough for your support!
Recommended Scrunchie Measurement:
I recommend using 2 pieces of 35” trim for this scrunchie.
Elastic measurement is personal preference, however, I recommend starting with 8” of 1/4” or 1/2” elastic to start and seeing how that works for you.
Let’s get making!
1. Cut Your Trim & Elastic
- Cut two pieces of trim to each measure 35” long.
- Cut your elastic.

2. Sewing The Trim
- Place the trim together so the pretty sides are facing each other.

- Clip or pin the long straight edge.

- Using a regular straight stitch and a 1/4” seam allowance, sew along that straight edge. Backstitch at the beginning and the end.


- Open up the fabric and iron the seam to one side.


- Fold the fabric in half so the pretty sides are facing and short edges meet.

- Clip or pin to hold in place.

- Using a regular straight stitch and a 1/8” seam allowance sew down that short edge. Backstitch at the beginning and the end.

- The fabric is now in one big loop.


- Fold the fabric in half so the ugly sides are facing.

- Clip or pin to hold it in place.

3. Creating The Elastic Channel
- Using a regular straight stitch and a 1/2” seam allowance, start sewing the channel for the elastic. Make sure to backstitch. The channel needs to be big enough to accommodate the elastic.


- Stop sewing around 1.5” - 2” from your start point as this will be the opening we use to thread the elastic.


4. Insert The Elastic
- Using either a safety pin or a bodkin (I use a bodkin) thread the elastic through the channel you just created.


- Add a clip to the other end of the elastic so it doesn’t pull all the way through.

- Once the elastic is threaded, overlap it approximately 1/4” and clip it to hold it in place.

- You can either use a zig zag stitch to sew the elastic together, or you can knot the elastic. My elastic is thin enough to be able to knot, so that’s what I decided to do for this scrunchie.

5. Final Steps
- Sew the opening closed using a regular straight stitch and joining the previous stitches of the elastic channel together. Back stitch at the beginning and the end.


- Snip away any loose threads.
- Fluff up the scrunchie by separating the layers and then your scrunchie is complete!


Don’t forget to tag me in your groovy creations! @GroovyOoze on Instagram!
Below is a link to my sewing patterns. Thank you so much for your support!